Cable management that actually works (clean desk, no stress)
This is the exact approach I use to make a setup look clean and premium. It’s not about buying loads of stuff — it’s about routing cables properly, hiding the “power mess”, and keeping everything easy to maintain.
Best for: anyone who wants a cleaner desk fast, without ripping the whole setup apart.
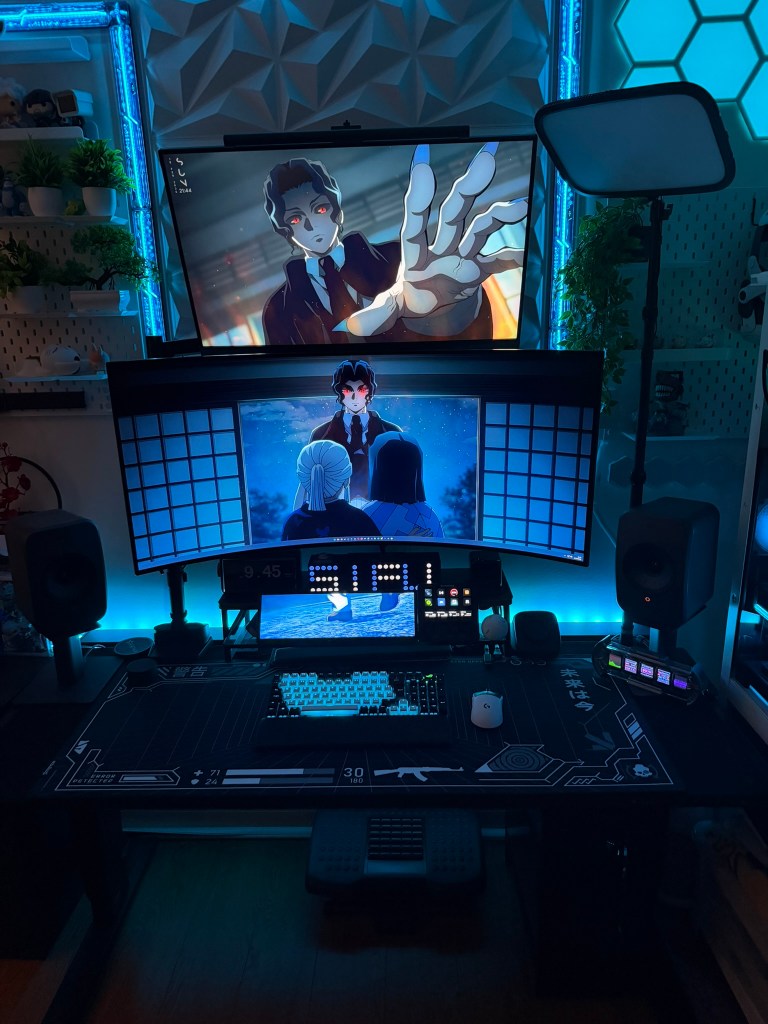
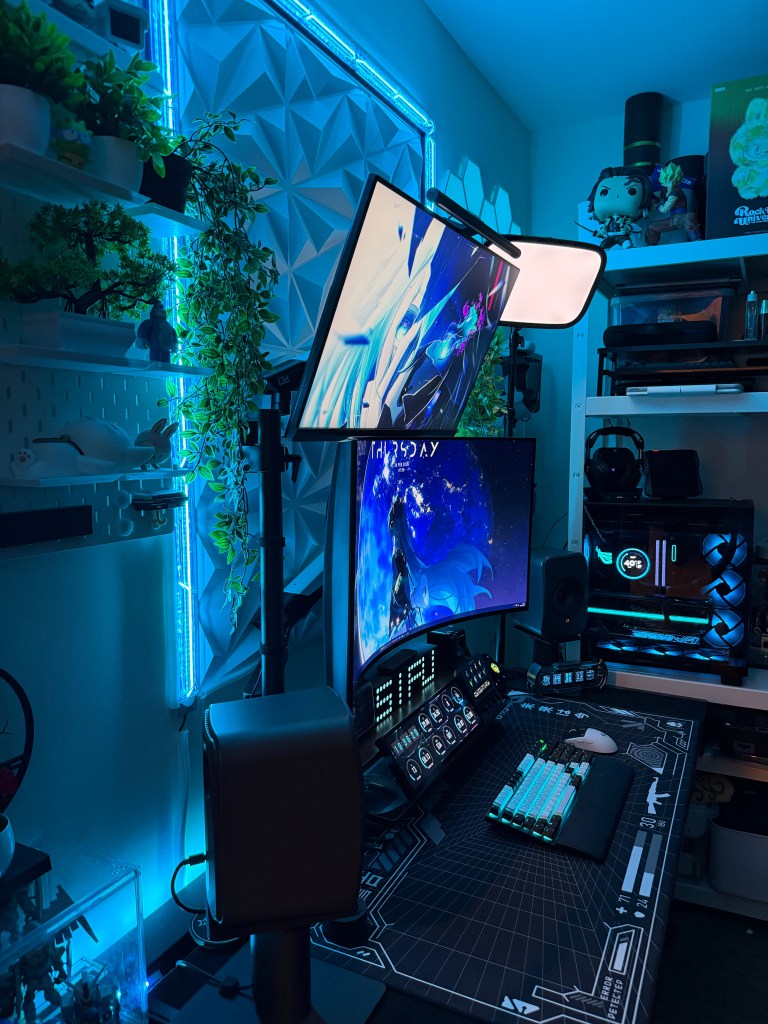
Clean routing and locked-in cables is what makes a setup look “finished”.
Affiliate disclosure: Some links may be affiliate links. If you buy through them, I may earn a commission at no extra cost to you.
If you only do one thing
Create one clean “spine” along the back edge and lock it in with clips + reusable ties. That alone makes most setups look 10x cleaner.
Most common mistake
Using zip ties everywhere. It looks tidy on day one, then it becomes a nightmare the first time you swap a cable.
Hide the power mess
Your desk looks messy when the “power brick zone” is visible. Hide it, then you only need one clean cable run to the wall.
- Group the power strip and bricks together (one place, not everywhere)
- Keep only what you actually use plugged in
- Run one tidy cable to the wall
Route cables once
You want one consistent route that every cable follows. That’s what gives you clean lines instead of random cables going everywhere.
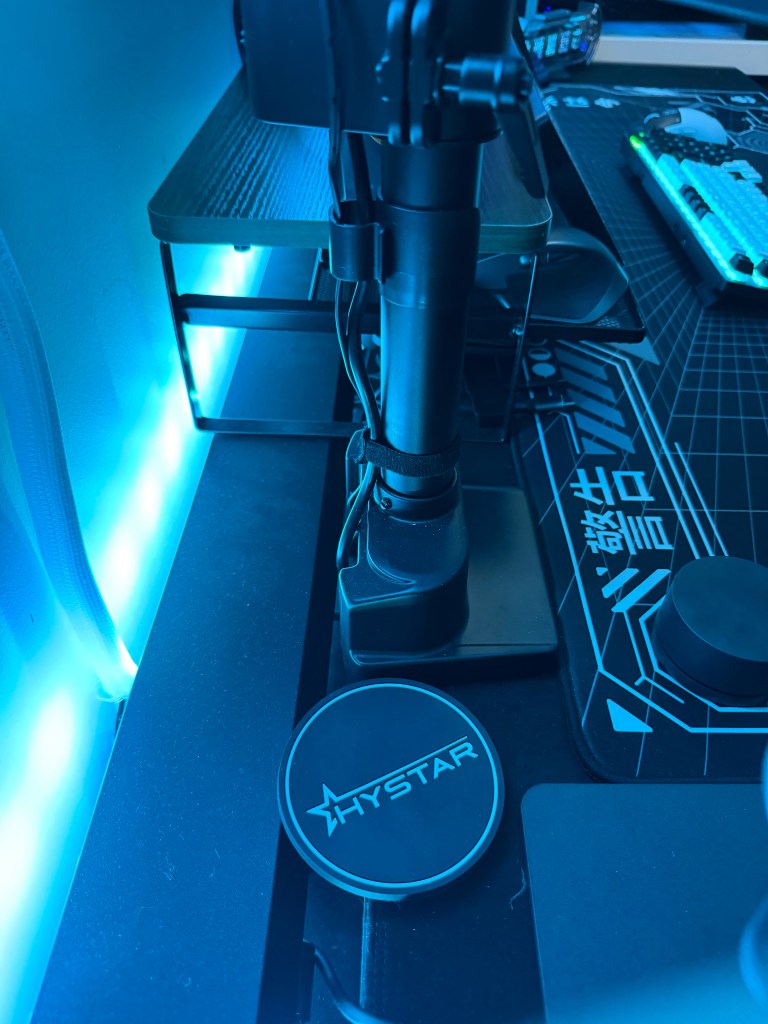
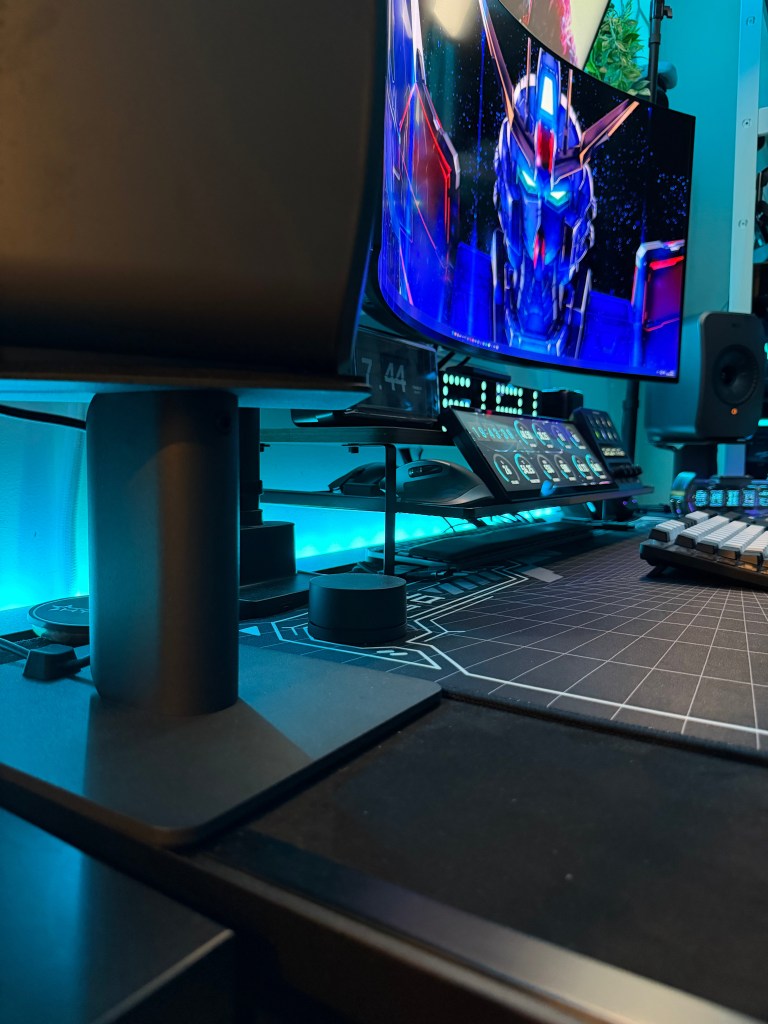
- Create a “spine” along the back edge (desk/monitor line)
- Use magnetic clips to keep cables parked neatly
- Bundle excess length with reusable ties (leave a little slack)
Make it maintainable
The best cable management is the one you can still change in 30 seconds when you swap a mouse, keyboard, headset, or monitor.
- Use hook & loop ties (reusable) instead of permanent ties
- Leave slack where things move (monitor arm, keyboard, headset)
- Optional: add a sleeve for a single “clean run” look
What you need (minimal kit)
- Cable sleeve (clean single run)
- Magnetic cable clips (keep cables parked neatly)
- Reusable hook & loop cable ties (easy bundling)
- Magnetic anchors (tidy routing where you need it)
Shop my cable management picks
All the picks from this guide in one place.
Step-by-step (20–45 minutes)
- Unplug everything and group power bricks/strip into one place (so it’s not scattered).
- Decide your “spine” route (usually the back edge of the desk, then down one leg).
- Run the main cables first (PC/monitor), then add peripherals (mouse, keyboard, headset).
- Use magnetic clips to park the visible cables where you want them to sit.
- Bundle excess cable length with hook & loop ties (leave a little slack for movement).
- Final check: move your monitor/keyboard and make sure nothing pulls tight.
Tip: start with the cables you see every day (mouse, keyboard, headset). Those give you the fastest “premium” upgrade.
